Migrate a Client Site to a New CMS Without Losing Rankings
Most ranking losses after a CMS move come from a handful of avoidable mistakes: missing redirects, lost metadata and a forgotten noindex. Here is a step-by-step plan to move a client site and keep its traffic.
Published · 6 min read
Moving a client's site to a new CMS is a chance to fix years of accumulated mess. It is also the moment a site is most likely to lose the rankings it took years to earn. The good news is that search engines handle migrations well when the signals are clear. Almost every lasting drop comes from a short list of avoidable mistakes: URLs that change without redirects, metadata that gets lost in the copy, and a staging noindex that goes live.
Here is a plan that works, step by step, in the order to do it.
Why migrations lose rankings
Search engines rank URLs, not businesses. Each URL has accumulated signals: links pointing at it, a history of clicks, and an understanding of what it is about. A migration puts all of that at risk in three ways:
- The URL changes and nothing tells search engines where it went. Links now point at a 404, and the page's history is lost.
- The page changes in ways that alter what it is about. A rewritten title, a missing H1 or a page split in two can change what it ranks for.
- The new site is harder to crawl or index. A blocking robots.txt, a leftover noindex or canonicals pointing at the staging domain can hide pages altogether.
The plan below closes each of those gaps.
Step 1: Build a complete URL inventory
You cannot redirect URLs you do not know about. Build one list of every URL that matters, from several sources, because each one misses something:
- A crawl of the live site, which finds everything linked internally.
- The current XML sitemap, which may include pages no longer linked.
- Google Search Console, Performance report: export pages with clicks or impressions over the last 12 months. The interface export is capped at 1,000 rows, so use the Search Console API or Looker Studio for larger sites.
- Your analytics, landing pages report over the same period.
- A backlink tool, which shows pages other sites link to, including old ones that now 404.
- Server logs, if you can get them, for URLs crawlers still request.
Deduplicate the list and normalize it: one protocol, one host, consistent trailing slashes.
Benchmark before you touch anything
For each URL, record its clicks, impressions and main queries from Search Console. Note the top 20 to 50 pages by traffic or inquiries. Those are the pages you will check first after launch, and the benchmark is how you will know whether a dip is normal or a problem.
Step 2: Map every old URL to a new one
Create a redirect map: one row per old URL, with its new URL and a status.
- Keep URLs unchanged wherever you can. The safest redirect is the one you do not need.
- Redirect to the closest equivalent page, not the homepage. Mass redirects to the homepage are usually treated as soft 404s, so the old page's signals are lost anyway.
- Use permanent 301 redirects, and point each one directly at its final destination. Chains of redirects slow crawling and are easy to break.
- Use 410 for content that is deliberately gone and has no sensible replacement.
- Preserve query strings that change the content, and drop tracking parameters.
Review the map with the client. They often know about campaign URLs, printed QR codes or email links that no crawl will find.
Step 3: Keep metadata parity
For every page you keep, carry across:
- the title and meta description,
- the H1 and heading structure,
- the canonical URL, now pointing at the new address,
- structured data, such as FAQs, articles and organization details,
- image alt text,
- Open Graph images,
- and the indexing state: if a page was noindex on purpose, keep it that way.
This is the moment to fix duplicated titles or missing descriptions. Do not rewrite the titles of your best-performing pages for the sake of it. Change one variable at a time, so if something moves, you know why.
Finally, update internal links to point at the new final URLs, not at redirects. Redirects are a safety net for the outside world, not a substitute for correct links on your own site.
Step 4: Prepare and test on staging
Build the new site where search engines cannot see it: behind authentication, or with noindex on every page. Then test it as if it were live:
- Crawl staging and compare the result against your inventory. Every inventoried URL should resolve to a 200 page or a single-hop 301.
- Spot-check redirects from a terminal with
curl -sI https://staging.example.com/old-page, checking the status code and theLocationheader. - Compare titles, descriptions and H1s side by side for your top pages.
- Check templates at 360 pixels wide and run Core Web Vitals checks on key templates.
Write the launch checklist now, including the step that removes the staging noindex.
Step 5: Launch day
- Lower the DNS TTL a day or two before, so the switch propagates quickly.
- Point DNS at the new platform and confirm HTTPS works on every hostname, including
wwwand the bare domain, with HTTP redirected to HTTPS. - Turn on the redirect map, then test a sample of old URLs, including your top pages.
- Remove the staging noindex and confirm robots.txt is not blocking the site.
- Check canonicals point at the live domain, not staging.
- Confirm the new sitemap lists only live, indexable, canonical URLs.
Step 6: Search Console steps
- Verify the site. A Domain property, verified by DNS, covers every protocol and subdomain. A URL-prefix property can be verified with a meta tag.
- Submit the new sitemap. Some teams also submit a temporary sitemap of the old URLs for a few weeks so Google recrawls them sooner and sees the redirects.
- Inspect your top pages with URL Inspection and request indexing for the most important ones.
- If the domain changed, use the Change of Address tool in the old property, after the 301s are live and both properties are verified.
Step 7: Monitor for the next few weeks
Some fluctuation in the first weeks is normal while search engines recrawl and reprocess the site. What you are watching for is anything that does not recover.
- The 404 log, daily for the first week. Every requested URL that 404s is either a gap in your redirect map or a broken link. Add the redirect and move on.
- Search Console's Pages report, especially "Not found (404)", "Page with redirect" and "Excluded by noindex tag".
- Performance for your benchmark pages, compared against the weeks before launch.
- Form submissions and inquiries. Rankings are a means to an end; check that forms work and notifications arrive.
Keep the redirects in place for at least a year, and ideally for good. Links on other sites do not update themselves.
How OdysseyCMS helps with a migration
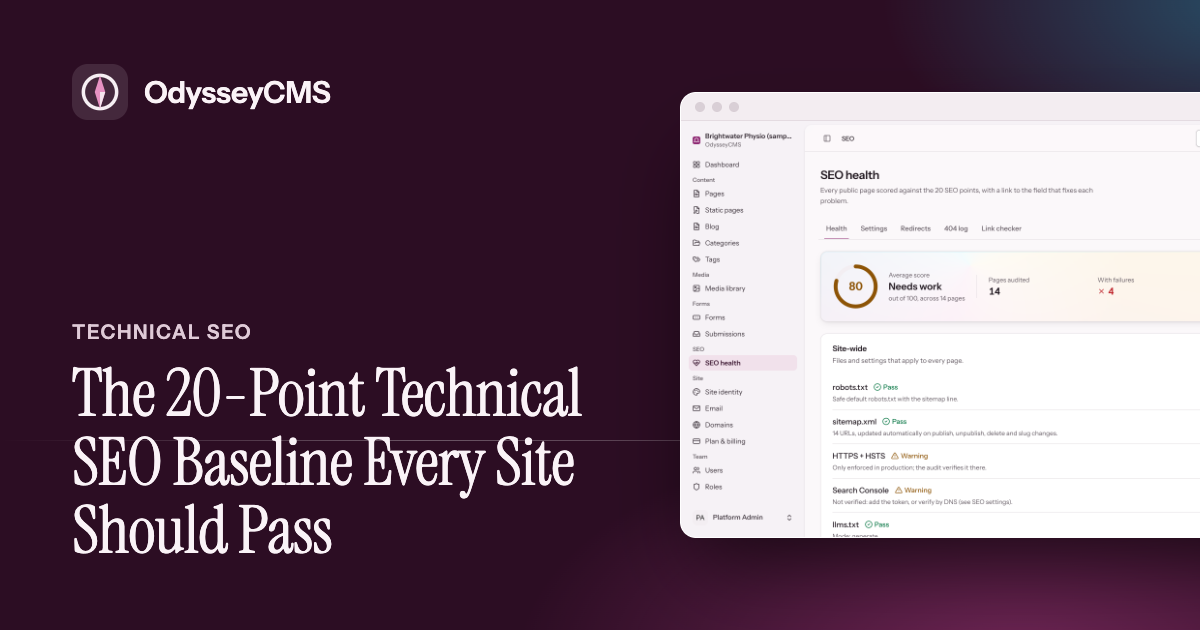
OdysseyCMS does not migrate a site for you, but it handles a lot of the risky parts. You can paste existing markup into raw HTML mode, import existing HTML forms, and add your redirect map to the 301 redirect manager. Each page gets a self-referencing canonical and is added to the sitemap when published, and if a slug changes later, the 301 is written automatically. After launch, the 404 log shows exactly which old URLs still need a redirect, and the SEO health panel flags missing titles, descriptions or alt text across the new site. There is a field for your Search Console verification tag too.
Read the 20-point technical SEO baseline for the checks to run after launch, see how pricing and limits work, or book a demo and we will walk through your client's migration with you.
Tagged
- Site migration
- Redirects
- Google Search Console
- Technical SEO